Proper wood preparation is crucial for achieving a beautiful and durable finish in outdoor wood applications such as decking and cladding. A fundamental part of this process is sanding, which improves the wood surface’s capacity to absorb stains and paints uniformly. This is especially important for ultra dense tropical decking woods, but also just as important for the super low density softwoods and ultra dry thermally modified products. By providing a smooth and consistent texture, sanding ensures optimal adherence of finishes and even absorption of color, enhancing the overall aesthetic of your project.
Exploring Early Wood and Late Wood
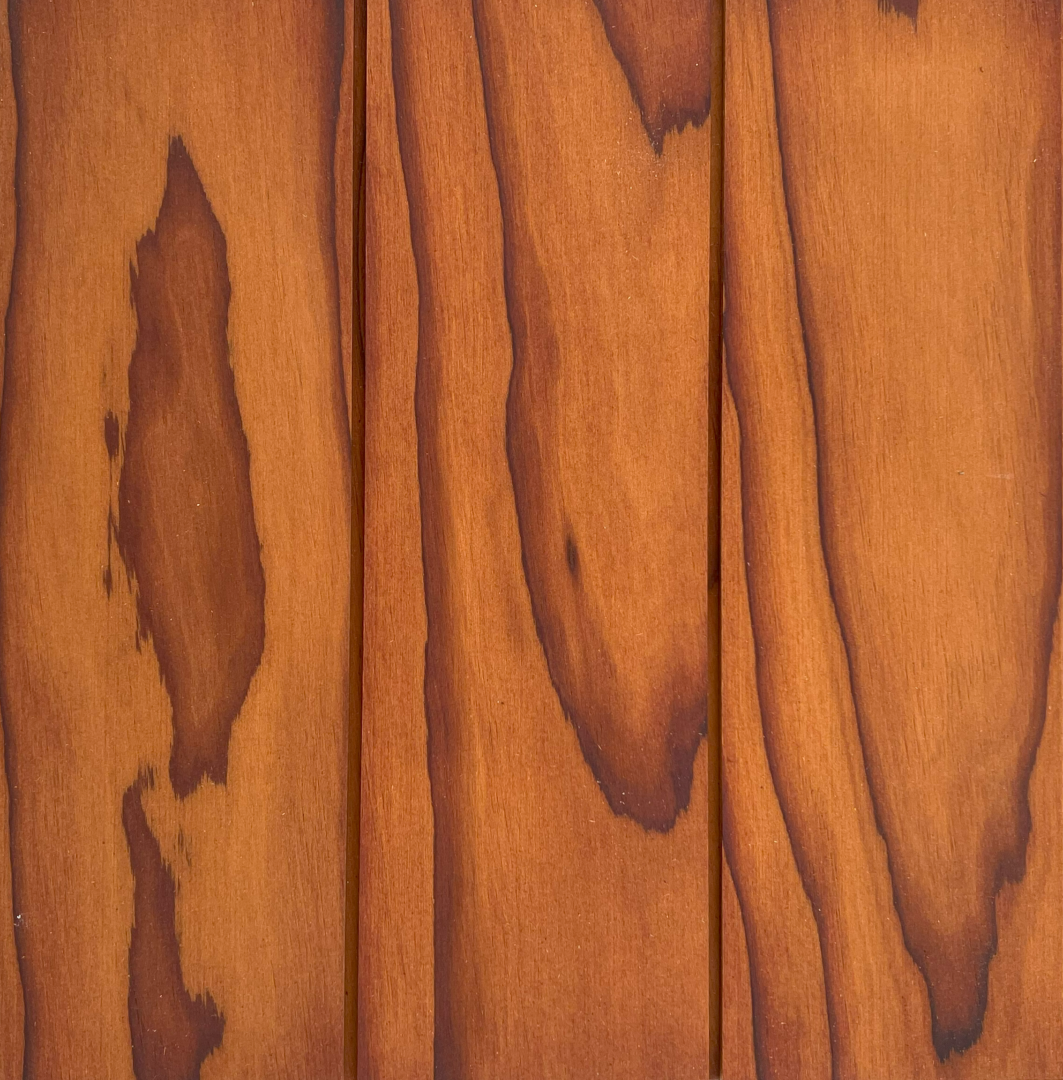
Let’s go back to school first. Wood growth occurs in cycles, resulting in two distinct types of wood within a single growth ring: early wood and late wood. Early wood, created during the spring and early summer, is generally softer and more porous, allowing it to absorb finishes more easily. Conversely, late wood, which develops later in the growing season, is denser and less porous, making it more resistant to finish absorption. This natural variation can cause an uneven appearance when applying finishes, highlighting the need for meticulous preparation to achieve a consistent look throughout the board.
Quartersawn and Rift Grains Create Variation Too
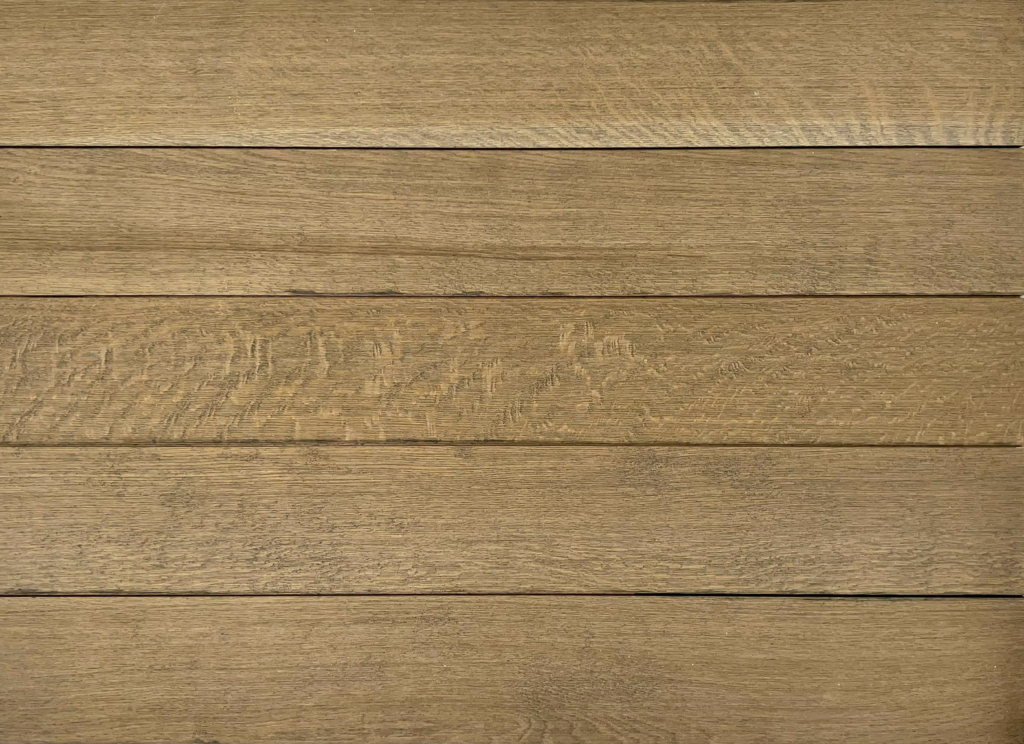
Additionally, wood grain characteristics such as quartersawn medullary rays can affect finish absorption. These rays are much more dense than the surrounding wood and less porous, making them less receptive to stains. This hardness difference will even result in a physical uneveness to a board, creating ridges and an undulating surface which will appear wavy under a finish. Sanding is essential for leveling the surface and addressing these differences. By smoothing the surface, sanding helps mitigate the disparities between early and late wood, allowing finishes to penetrate more evenly across all wood types. This uniform absorption is particularly critical when working with tropical hardwoods that display pronounced density variations. And regardless whether work on an interior or exterior project, sanding MUST be done to create a uniform surface ready to receive a finish.
“I’m Not Using a finish, I want my deck to weather to grey”
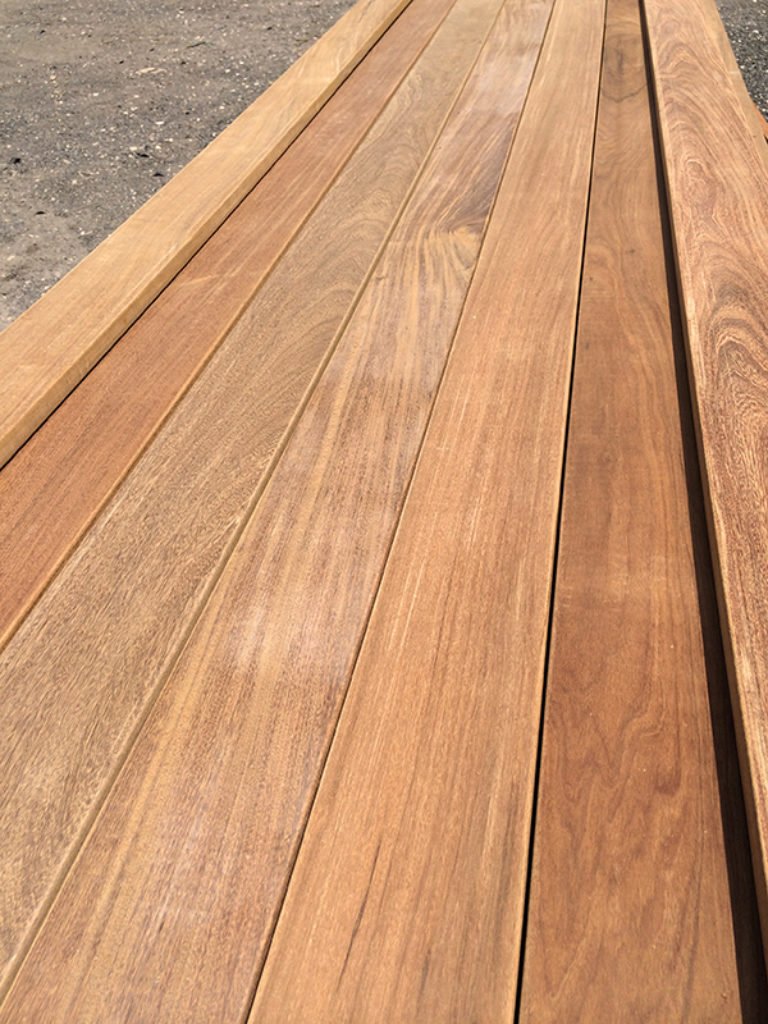
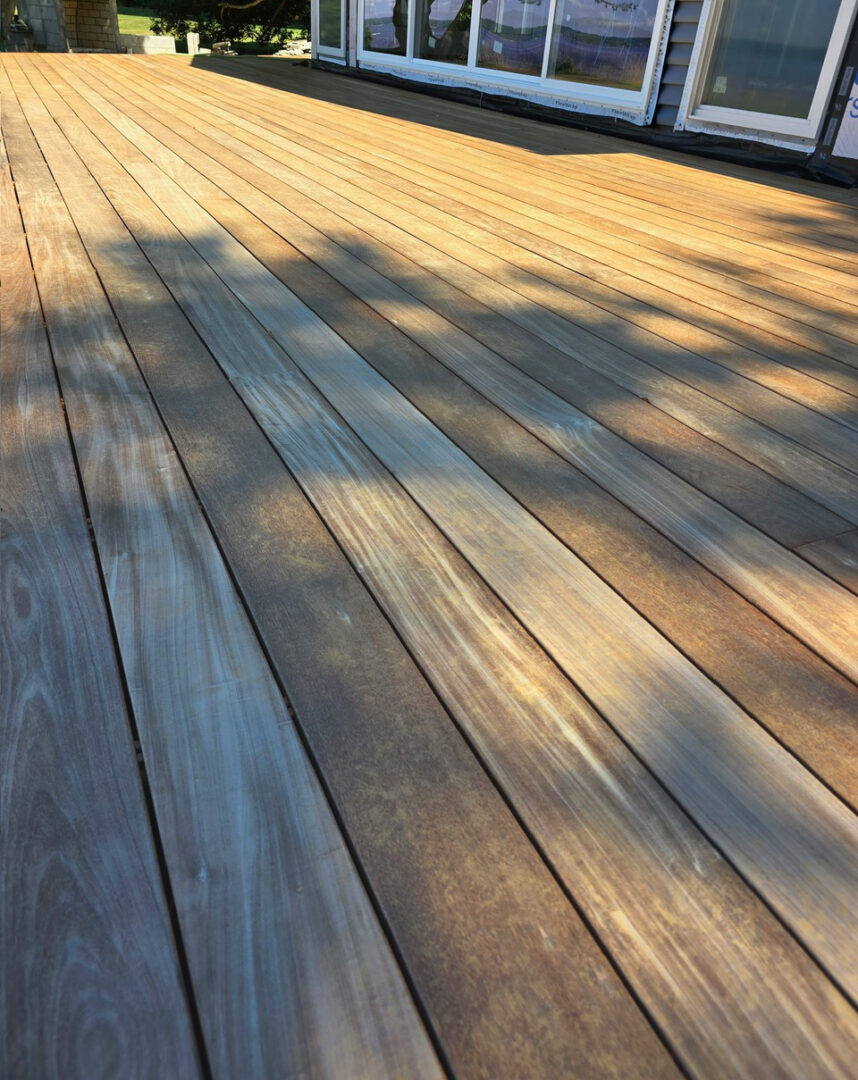
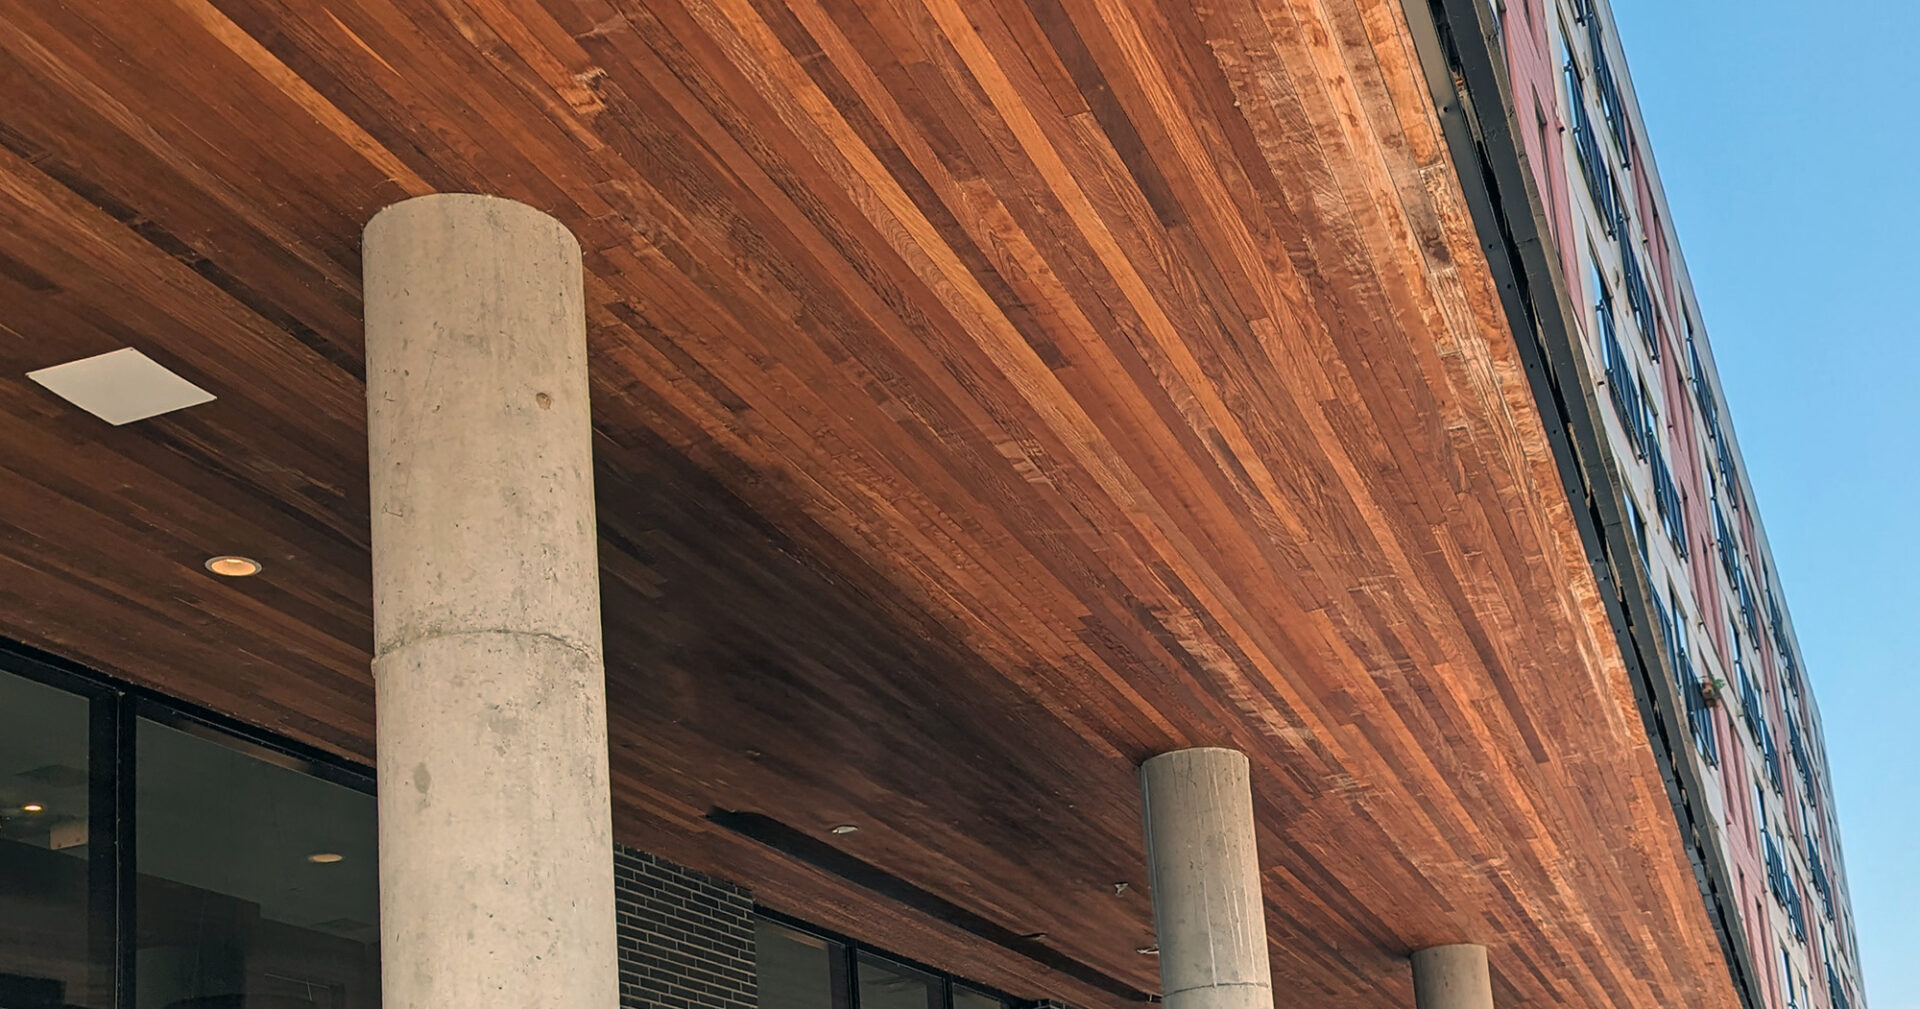
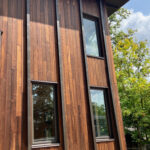
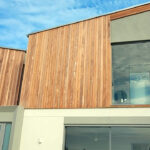
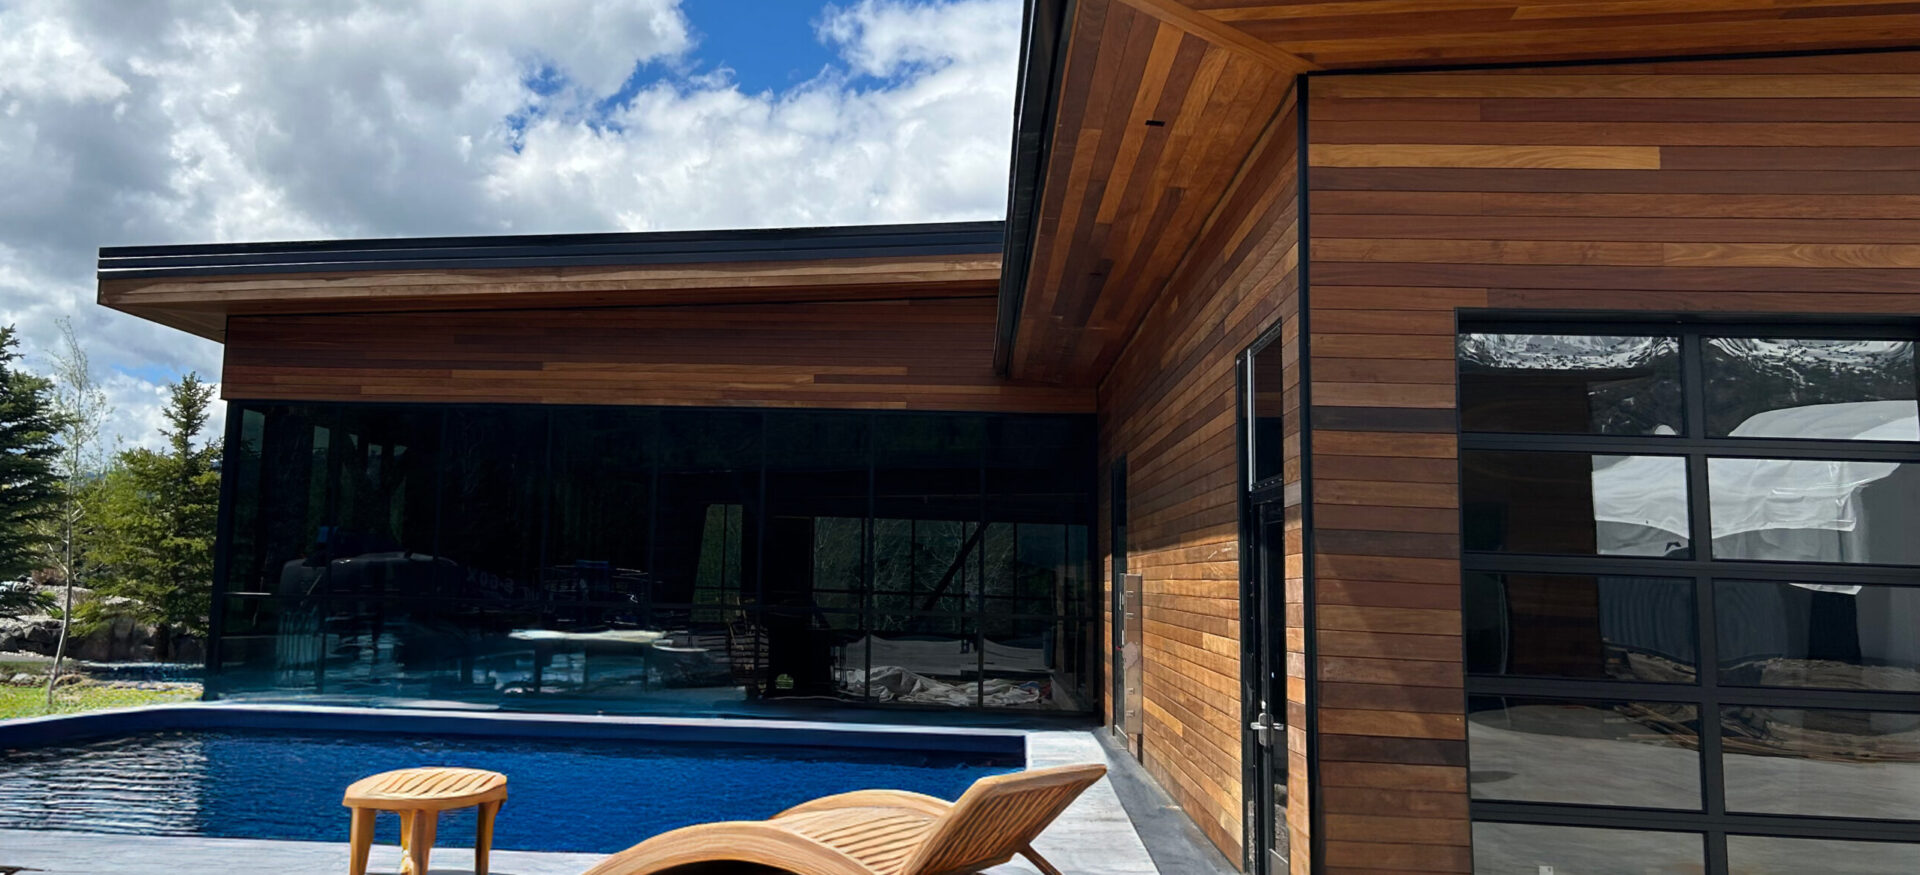
I can hear it now. I’ve heard it from a steady stream of builders and landscape architects. “I’m not using a finish so I don’t need to worry about finish absorption or sanding”. Do me a favor and scroll up to the top of this post and look at the header image. That is unfinished Ipe. How does that unsanded, scratched surface look? Would your customer be happy with that? Now fast forward a few years and you will see uneven weather and lot of blotchy colors where the mix of mill glaze and scratched wood have changed colors unevenly. The fact is that sanding not only prepares the wood for a finish it prepare the wood to weather more gracefully and evenly. Take this the below two examples. On left we have an unfinished and unsanded Ipe deck. On the right a home clad in Alaskan Yellow Cedar that has been even sanded and unfinished. The uneven color and stripes and torn grain of the Ipe is obvious showing the early and late wood as well as hard medullary rays. The Alaskan Yellow cedar does show some color variation natural within the species but see how gracefully the cladding has weathered due to the surface preparation.

Increasing Finish Durability with SAnding
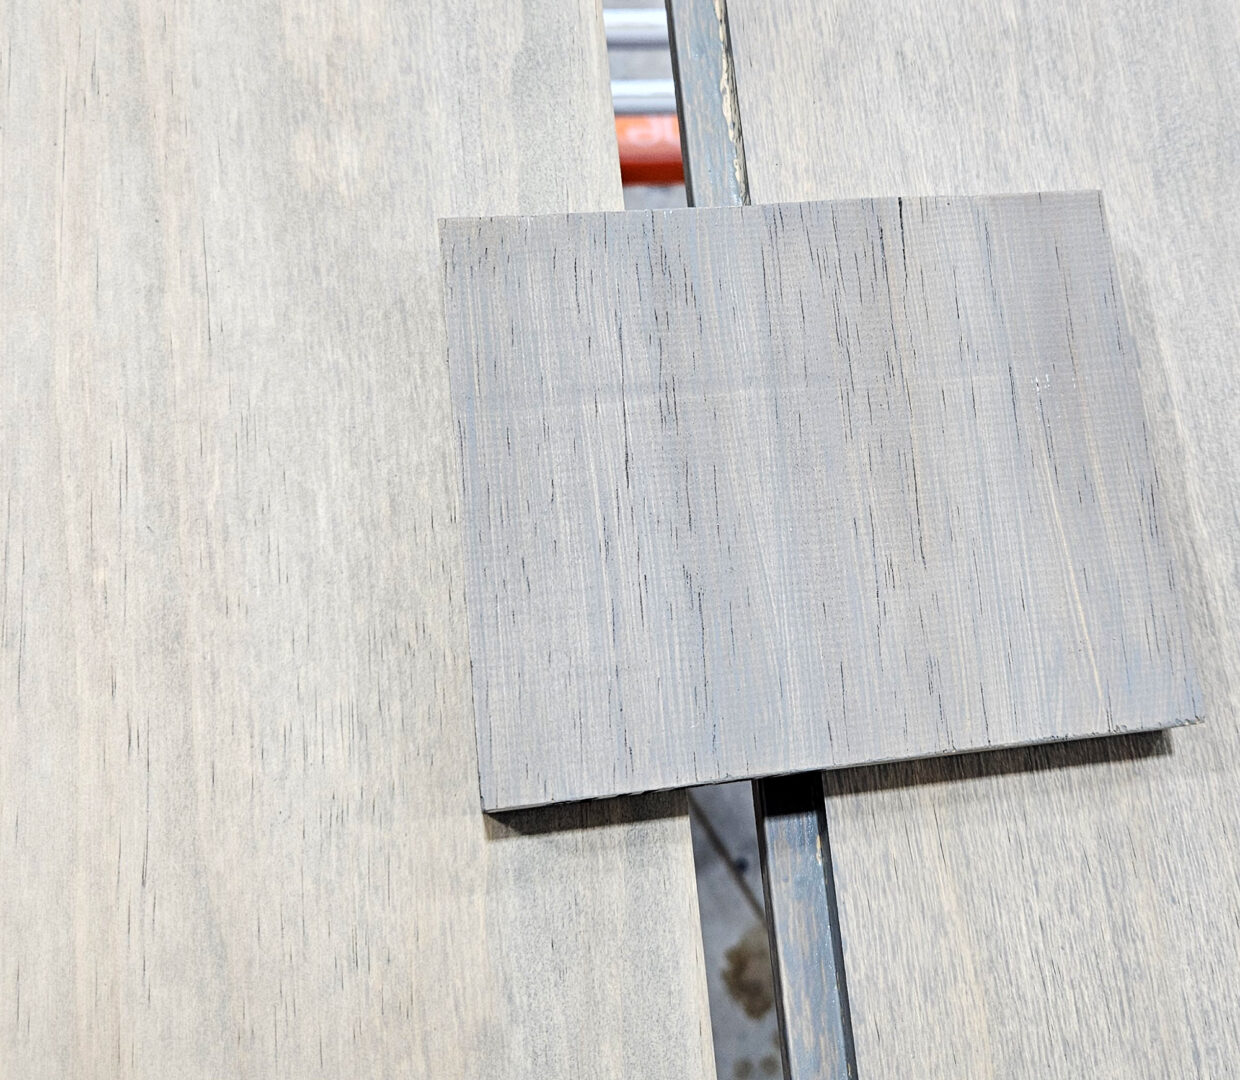
Sanding creates a surface that will allow a finish to adhere properly to the wood. Wood that has been planed will have a glassy appearance cause by high speed knives. We call this “mill glaze”. Finish has a hard time bonding to the glaze but also can end up highlighting the fine, parallel marks left by the planer. Simply called “knife marks”. Sanding actually tears up the surface and creates a mechanical tooth that will bind to the finish better. In this way sanding is less about making a smooth surface but more about making an evenly rough surface. By starting with a coarser grit sandpaper then advancing through the grits to finer paper we lessen the roughness but still keep that mechanical tooth in place. You can go too far however and sand so finely that finish will not bind and any color in the finish may not absorb evenly. This is a common mistake to skip grits in sandpaper but more often than not I see installers starting with too fine of a grit. For fine furniture you might start with 120 grit paper but for exterior decks and cladding, start with 60 or 80 grit paper. You really want to open up the grain and provide a strong base for the finish to adhere to. This goes double when talking about really hard and dense woods. Maybe even reach for the 40 grit paper!
Enhancing Wood Finishing Through Sanding
Sanding is not just about preparing the wood surface and making it smooth. It is also vital for achieving a cohesive appearance when applying finishes. This process eliminates imperfections such as rough spots and splinters, resulting in an even, ready-to-finish surface. A well-sanded wood surface allows finishes to penetrate uniformly, producing consistent color and sheen that significantly enhances the visual appeal of the wood, particularly in dense tropical hardwoods like Ipe and Jatoba. Additionally if any sheen in the final surface is desired, proper surface prep before the first coat and in between coats is essential to build a surface that will reflect light evenly.
Different wood types react to finishes in various ways due to their growth patterns. The softer, more porous early wood can readily absorb finishes, while the denser late wood may resist absorption, leading to a patchy finish if not properly addressed. Sanding effectively minimizes these discrepancies, promoting uniform absorption, which is essential for achieving a seamless finish on robust tropical woods. Sealant products like Shellac or “sanding sealer” products can even out the absorption rate of softer woods creating an even looking surface. At the same time, a strong sanding regimen can achieve the same thing. This means starting with a coarse grit and stepping up through the sanding grits until you achieve your final look. Do not skip grits as this will leave behind scratches or just make you work longer with the finer grit papers.
As stated above, for construction projects and especialy exterior projects start no finer than 80 grit sand paper. Possibly lower to really level the surface and open the wood to receive finish. Even if proceeding on to 100 and 120 grit paper that initial coarse step will make or break your final finish.
There are always exceptions
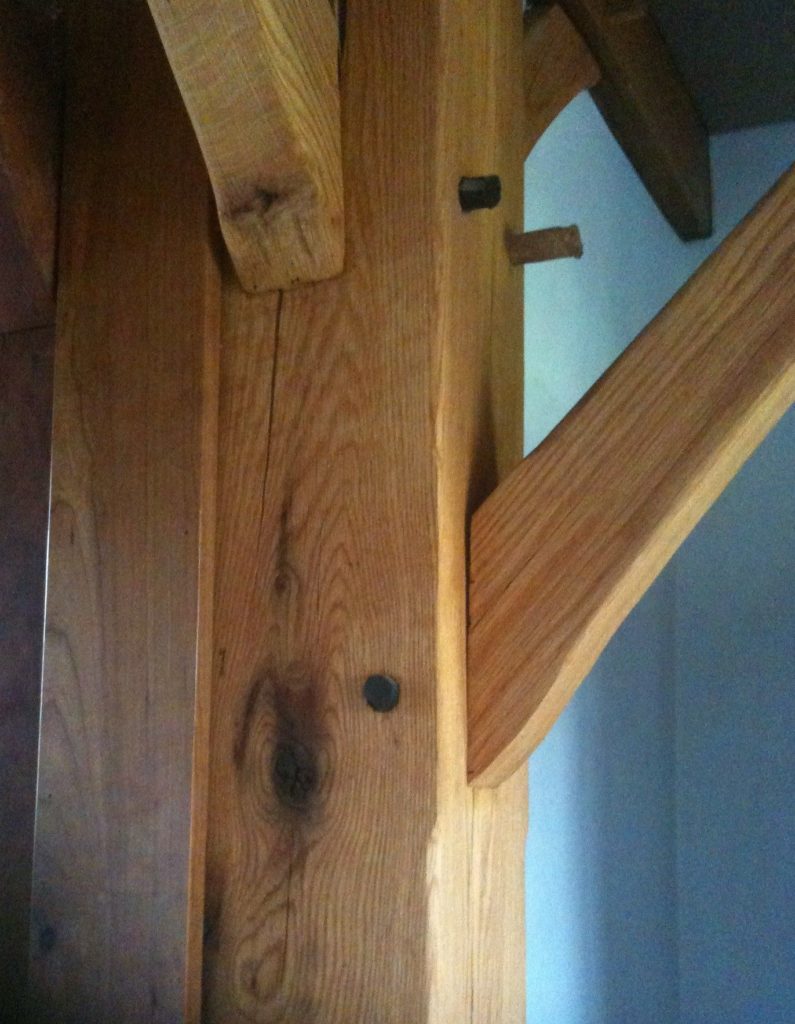
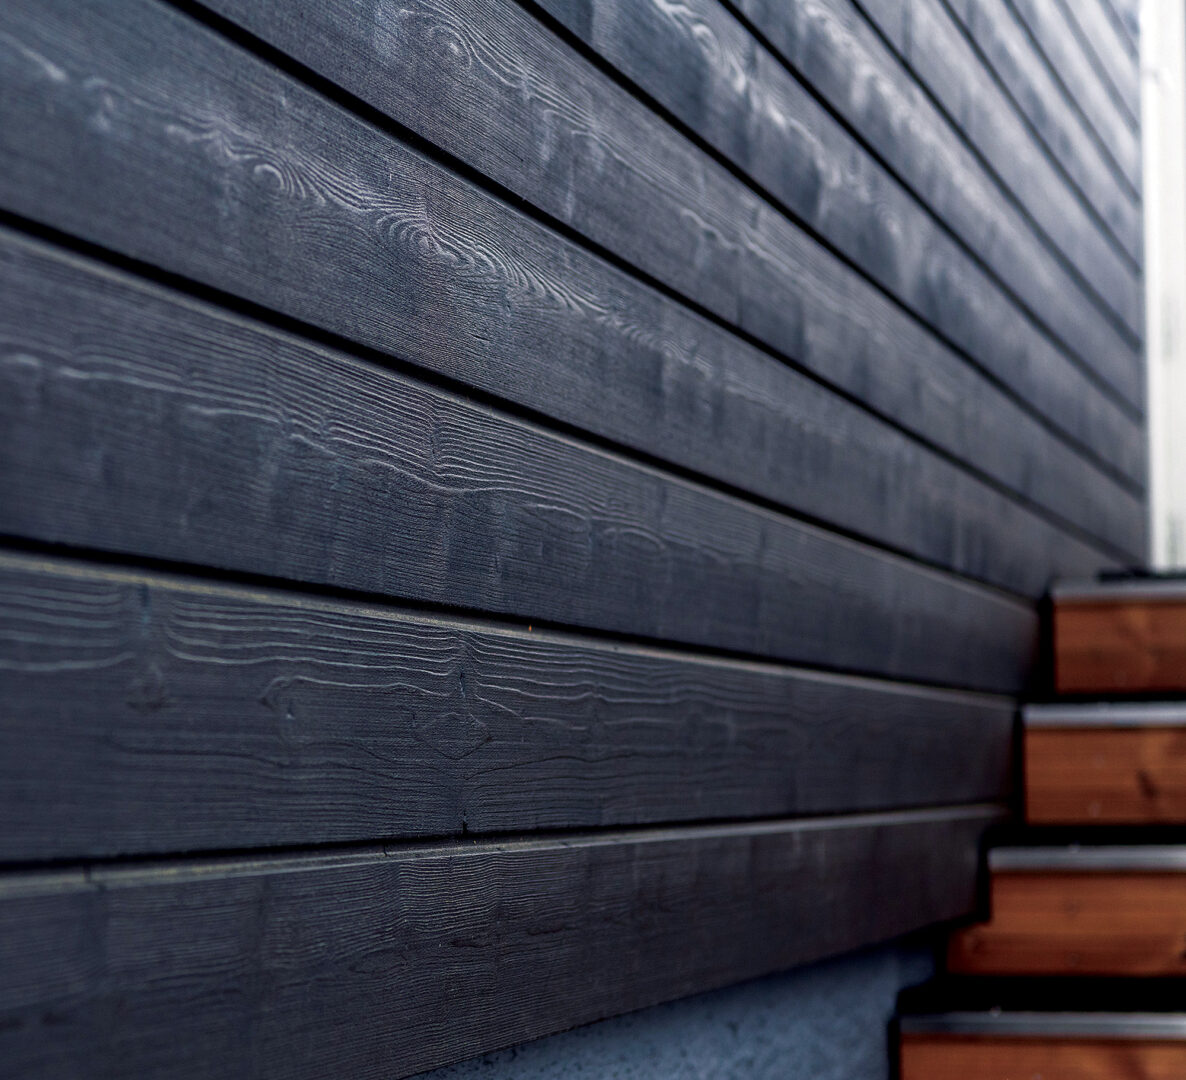
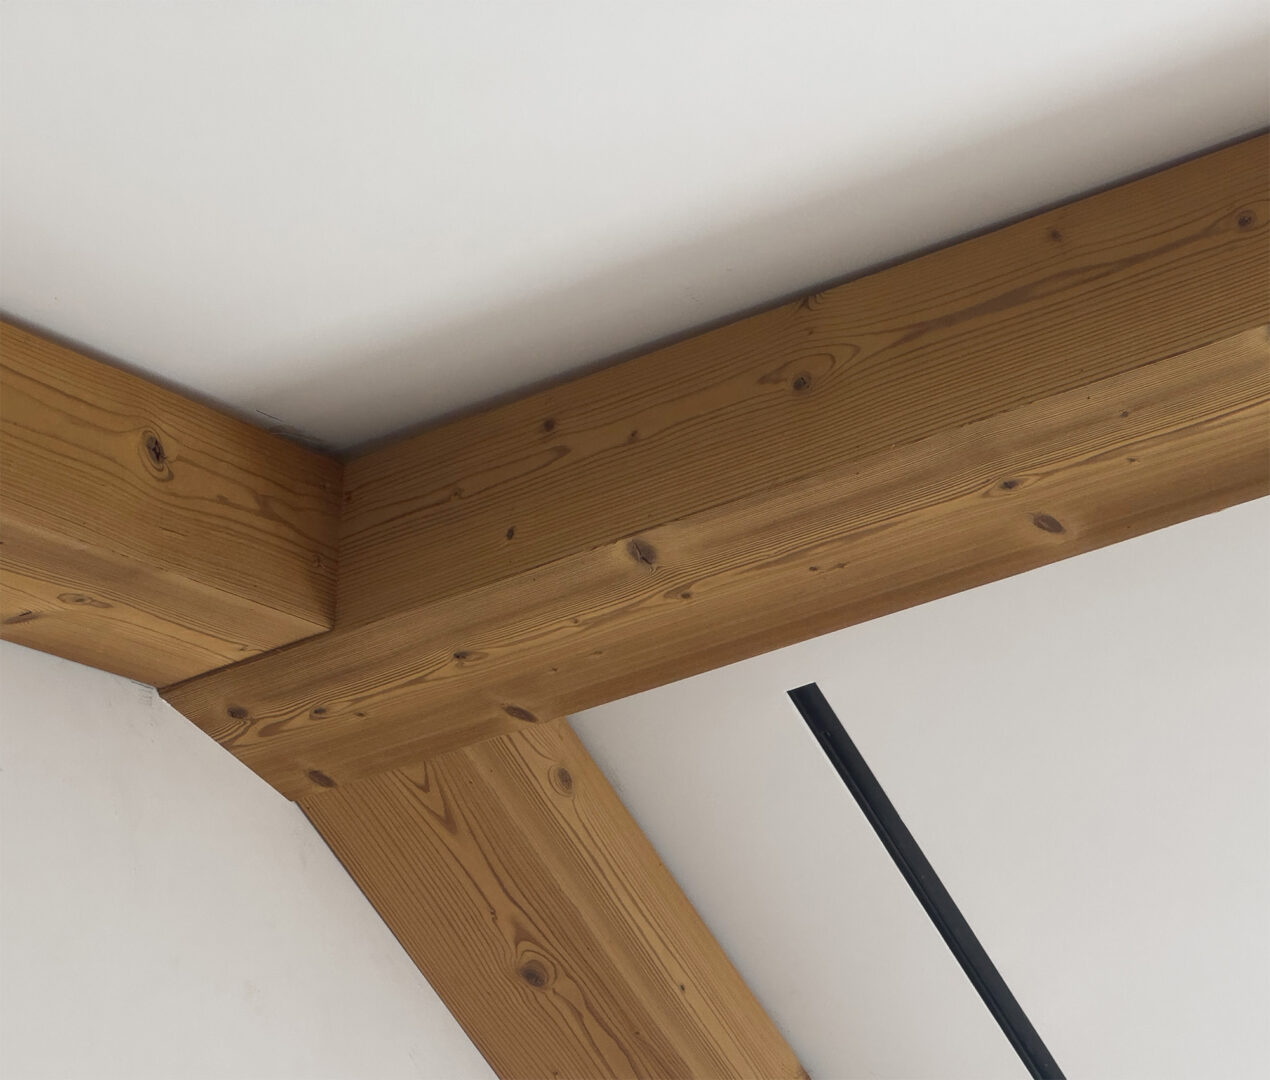
But sometimes we want to embrace that natural grain of a wood species and use that early and late growth contrast for effect. Spruce and Douglas Fir are great examples of this contrast. The entire vertical grain aesthetic that is so popular with Western Redcedar and Hemlock relies on enhancing the grain contrast. Yakisugi burning techniques also require that contrast to create the 3D effect when brushing after burning. Here we don’t want to blend the early and late growth layers but accentuate that contrast. Here sanding is still important. Start with a coarse 80 grit paper to uniformly tooth and open the pores of the surface. Now proceed up to finer grits but use a hard sanding pad or block so as to focus finer sanding on the raised, harder grain sections. These raised sections will not absorb as much finish (see rule above) but stay proud of the surface and ensure they stand out from the softer wood in the valleys.
Effective Wood Sanding Techniques
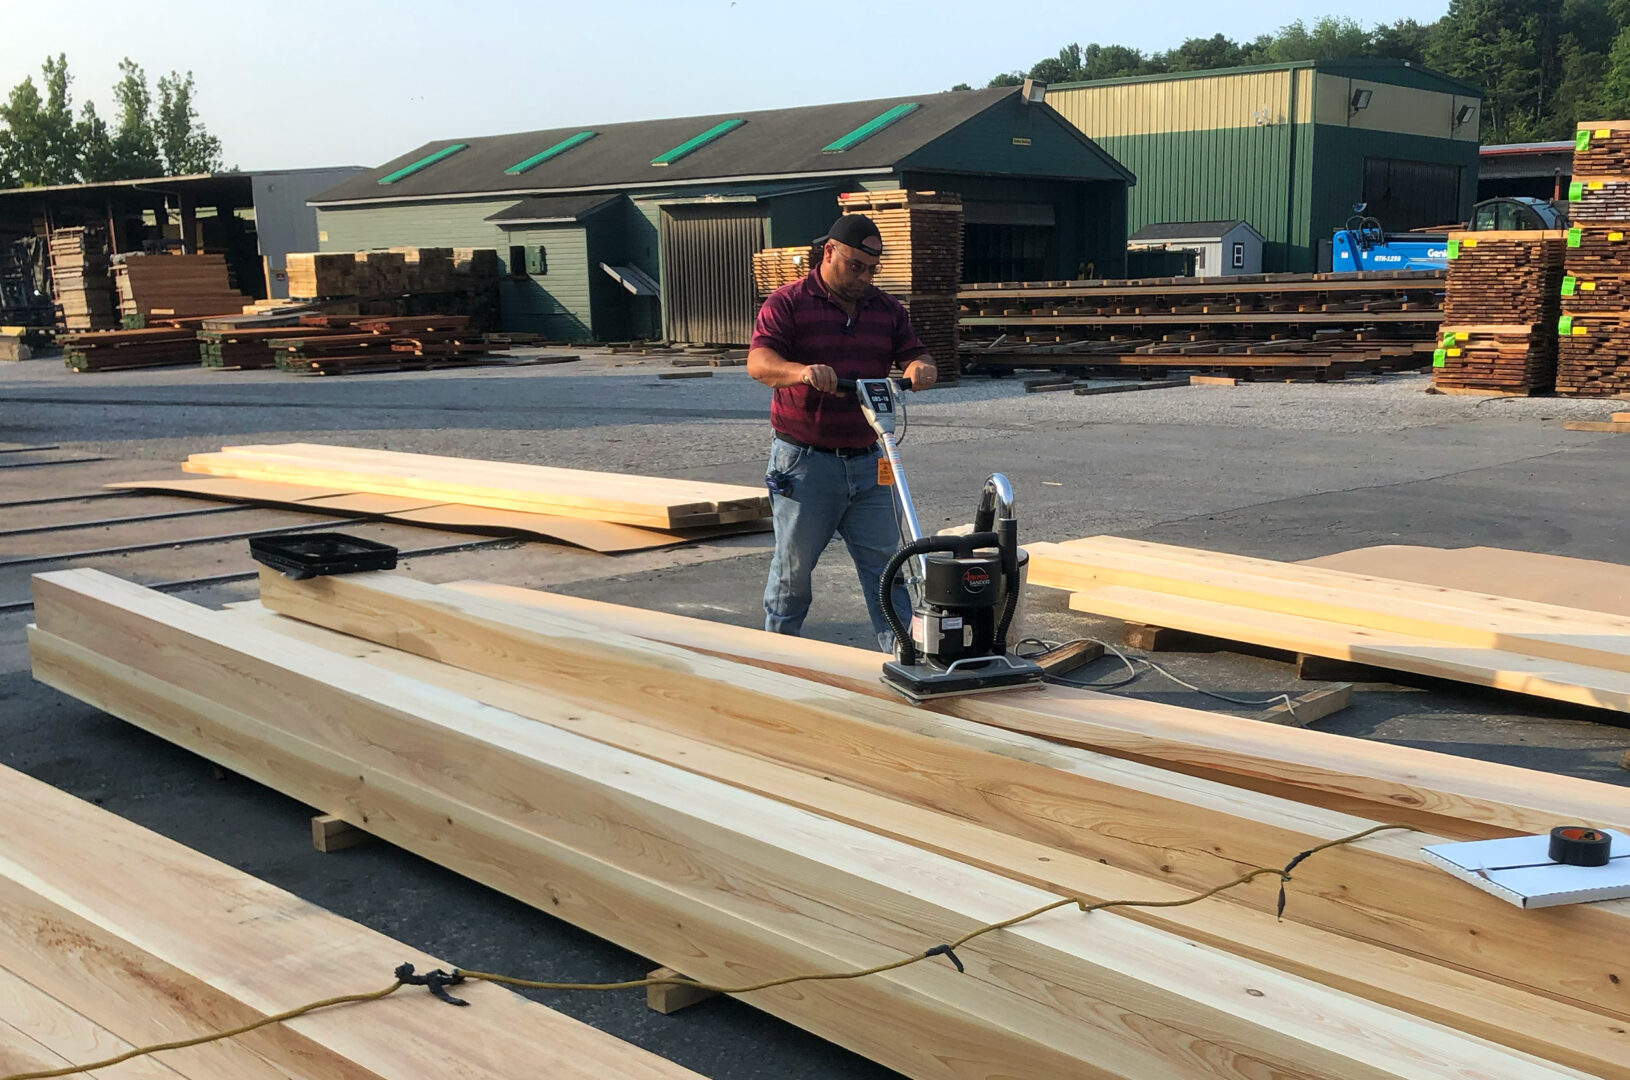
To achieve optimal results in wood preparation, using the right sanding techniques is key. Start with coarse grit sandpaper to remove significant imperfections and gradually move to finer grits for a refined finish. Proceeding through the grits in an 80-12-180-220 regimen is what I would generally follow for something like furniture. For exterior projects you want your finish to penetrate and absorb rather than sit on top and form a film. A film finish will only trap water, crack and flake off. So sanding exterior projects to a higher grit only closes up the pores and inhibits absorption of the finish. This is where 80 grit tends to be the top end of sanding or maybe 100 or 120. Higher grit than this just ends up sealing the wood.
When sanding, always follow the direction of the wood grain. Sanding against the grain can create scratches and unevenness, detracting from the overall finish. Always sand along the grain to maintain the wood’s natural beauty. After sanding, it is essential to clean the surface thoroughly to remove any dust and debris, as these particles can interfere with the adhesion and effectiveness of the finish on hardwoods. Some finishes molecularly bond to the wood fibers so that free dust floating around on the surface will soak up finish instead of allowing it to soak into the project wood.
A great finish on Wood starts before you open the can
Several common mistakes can undermine the quality of your wood preparation for finishing. There is a lot to think about and so much depends on your application, the wood used, and the exposure that wood will have to the elements. Follow these points but focus on good finish and surface preparation:
Sanding is not an option
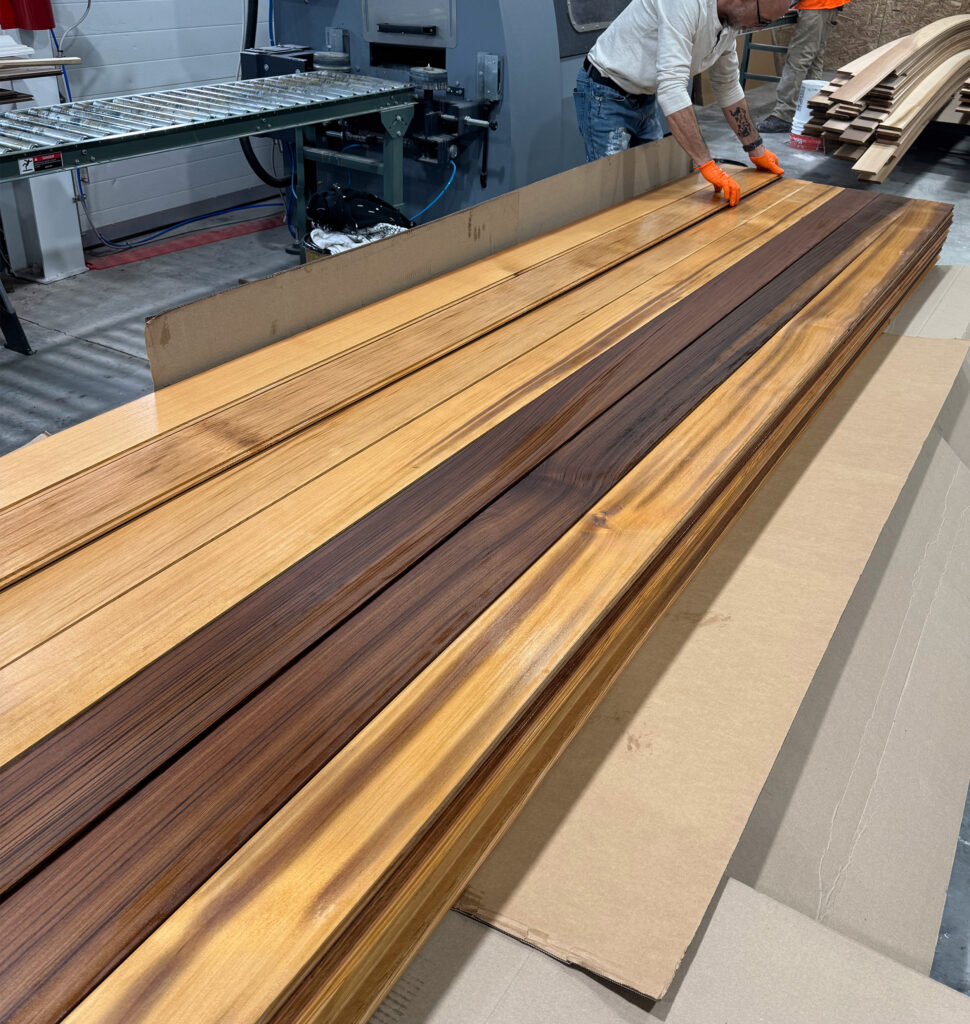
Any product that we finish here at J. Gibson McIlvain will be sanded thoroughly before we apply the finish. We will sand decking products we ship to you if you want to take that burden off your install team. If you choose to not have us sand for you then be prepared to do it yourself because this is essential for performance of your finish and your wood products.
By dedicating time to thorough wood preparation, including sanding and cleaning, you can achieve stunning and long-lasting results, especially in exterior applications like decking and cladding. This is not an optional step. It must be done or your finish will not look good and you will compromise the durability and longevity of the finish and the wood underneath.





Leave a Reply